Documentation Index
Fetch the complete documentation index at: https://www.autocoder.cc/docs/llms.txt
Use this file to discover all available pages before exploring further.
Real-world Scenario: Building an Employee Management System in 3 Hours
Last Friday at 2 PM, my boss suddenly said: “Need to show investors an employee management system demo by Monday. Time is tight — can you do it?” Traditional development timeline would be:- Product Manager writes PRD: 1 day
- Designer creates mockups: 2 days
- Frontend develops pages: 2 days
- Backend develops APIs: 2 days
- Frontend-backend integration: 1 day
- Testing and bug fixes: 1 day
- Finished all development by 5 PM Friday
- Slept in on Saturday
- Demo ready for investors on Monday
Context
Many people ask me how to actually use AutoCoder.cc — “Can it really replace programmers?” My answer: Not replace, but amplify. As someone who’s been doing frontend development for 8 years, I deeply understand both the joy and pain of programming. Joy comes from creation; pain comes from repetition. AutoCoder.cc is an AI-powered web builder that generates complete code from natural language descriptions. It transformed me from “code worker” to “product builder.” Let me show you the complete workflow through a real case — an Employee Management System — that I just finished last Friday and is now live in production.Complete Workflow
Step 1: Input Your Prompt
In AutoCoder.cc’s input box, describe the features you want in natural language. This is the most critical step in the entire vibe coding process. Why does prompt quality matter? Prompt quality directly determines the quality of generated results. A good prompt is like a clear requirements document — it helps AI understand exactly what you want. Prompt example:Step 2: Confirm and Adjust the Framework
AutoCoder.cc first generates a framework preview — this is a crucial step. What does the framework preview include? Employee Management System framework preview example:
- Page structure (add/remove pages)
- Feature modules (add/remove features)
- Data table design
Step 3: Get the Frontend UI
After confirming the framework, AutoCoder.cc generates complete frontend code. Generated content includes:- Built with React + Tailwind CSS + shadcn, powered by AutoCoder’s custom frontend build engine
- Page routing configuration
- State management code
- API request wrappers
- TypeScript type definitions
- Real-time preview — AutoCoder.cc provides online preview. Type something and see the effect immediately. This is the feature that surprised me most — no need to start a local dev server, just preview in the browser.
-
Provide feedback — If UI isn’t satisfactory, continue adjusting with natural language:
-
Add features anytime — You can add new features at any time:
Step 4: Generate Backend Logic
As a frontend developer, I was especially impressed that AutoCoder handles the backend as well. AutoCoder automatically generates production-ready backend logic, including:- TypeScript server-side API endpoints (powered by AutoCoder’s proprietary engine)
- Automatic database operations via ORM
- Built-in authentication (JWT-based) and role-based access control
- API request/response validation
- Full CRUD operations for all entities
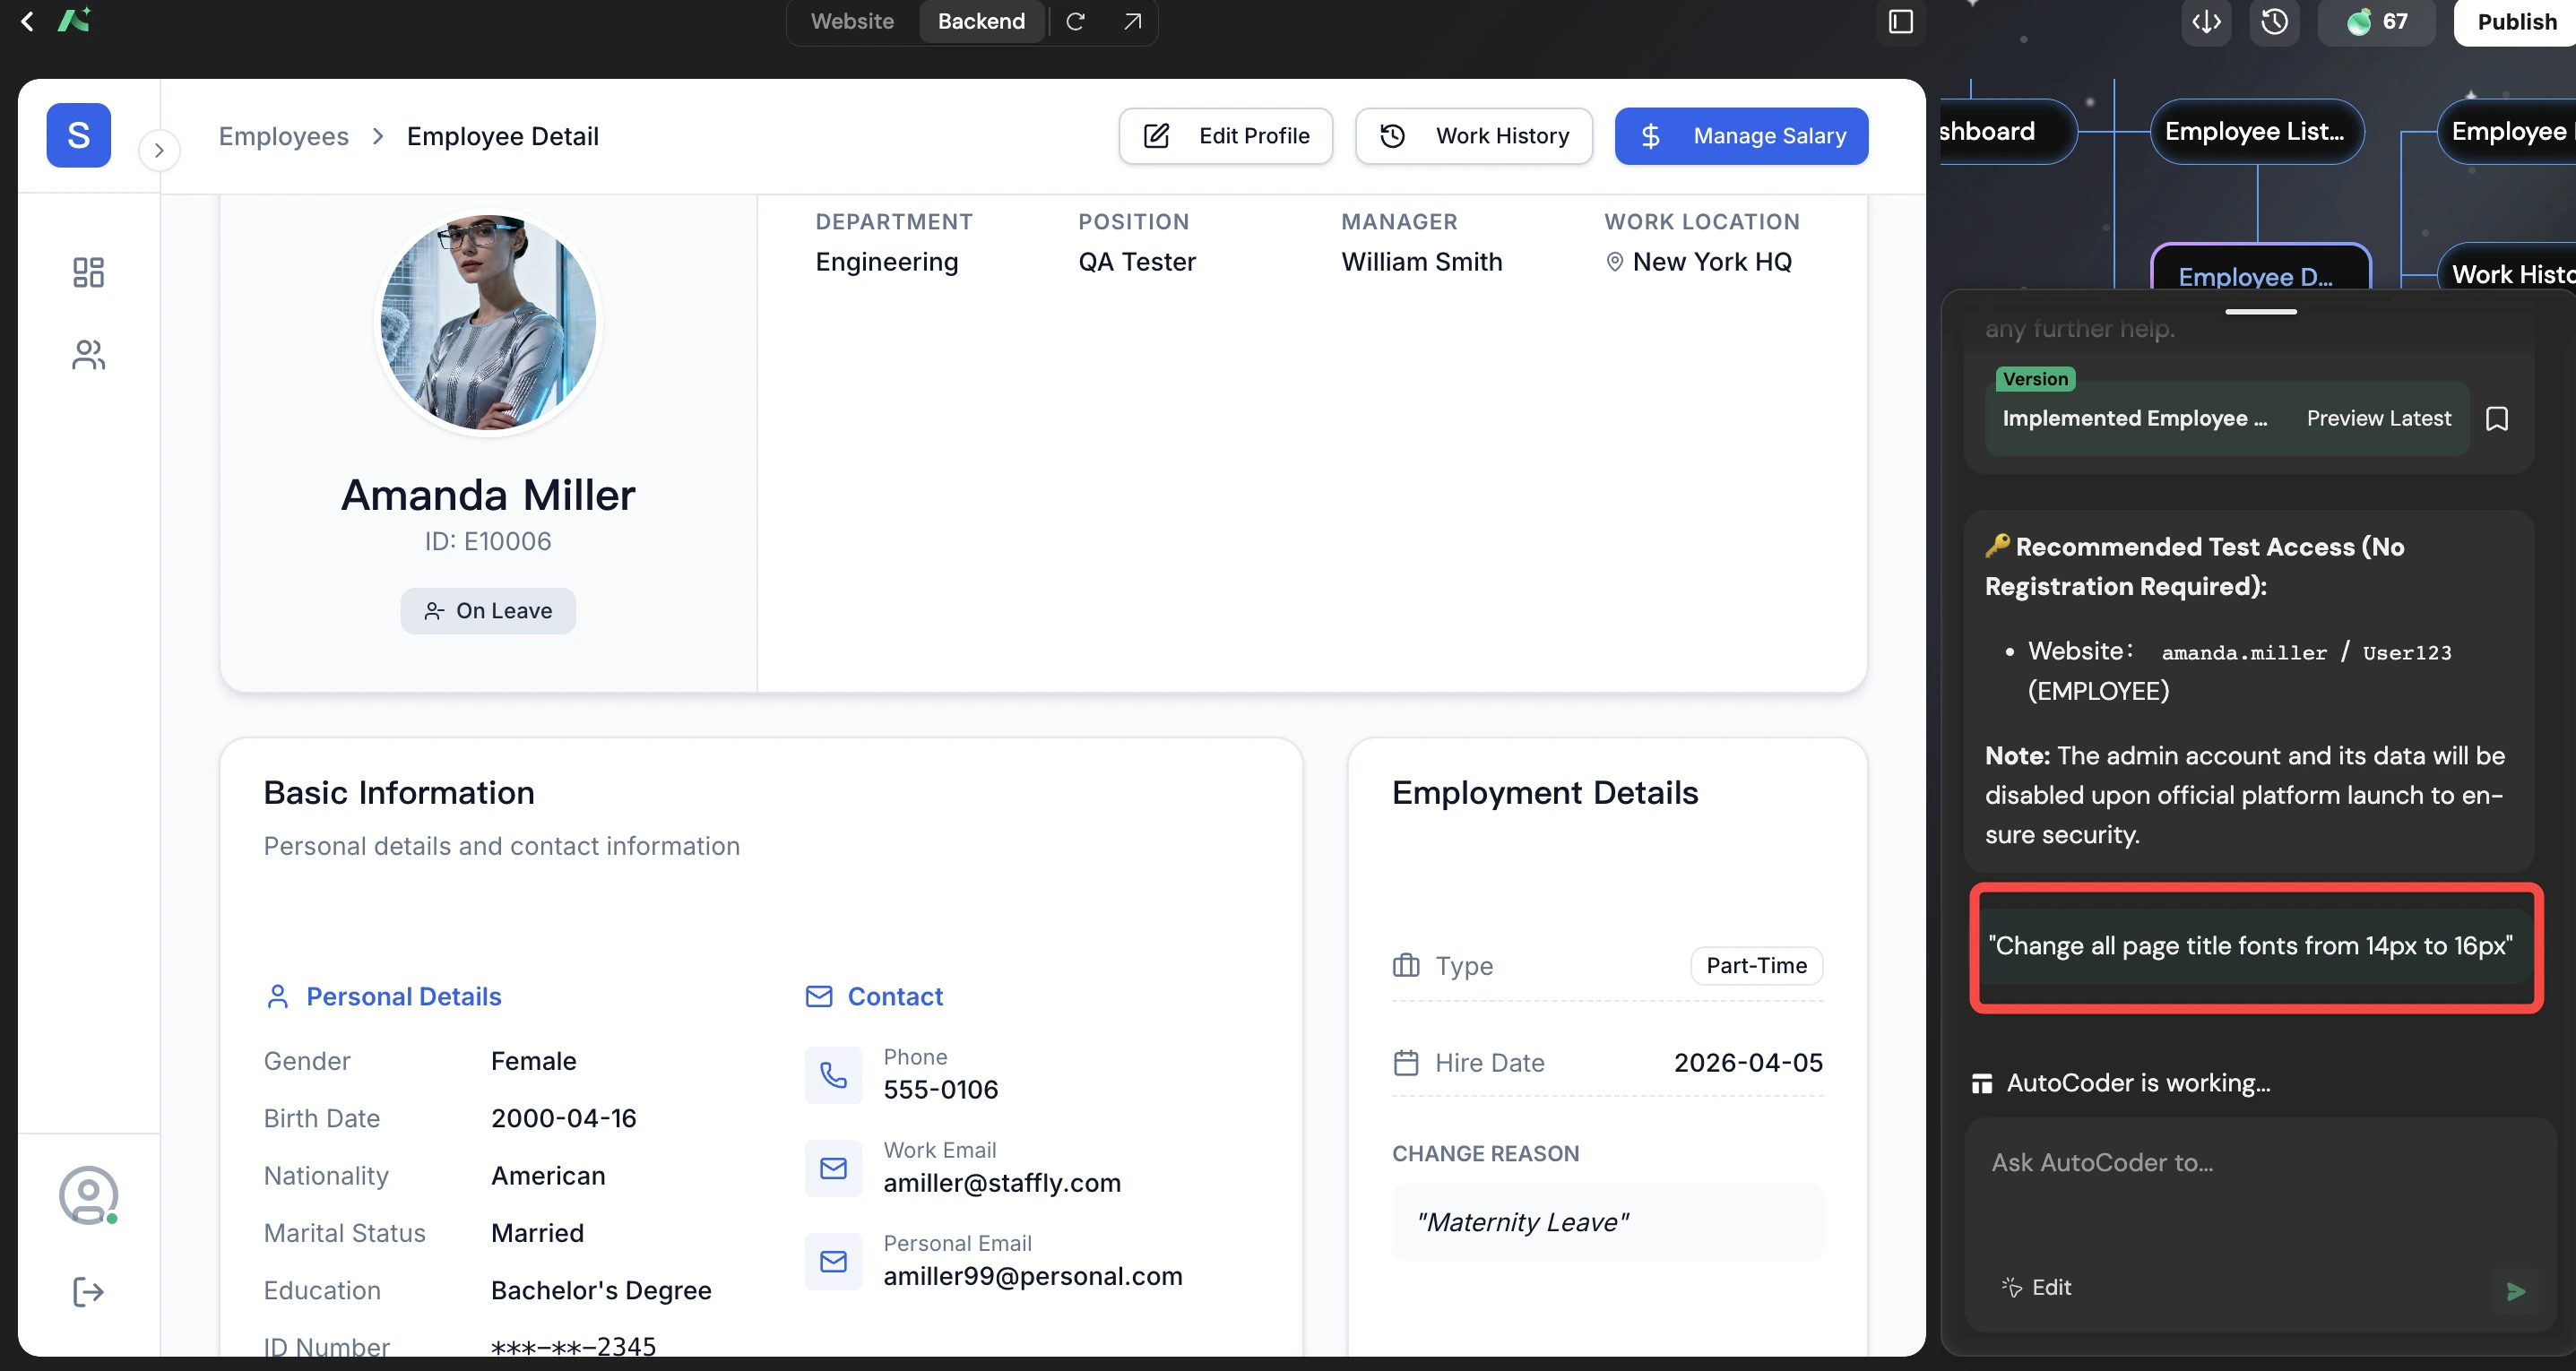
Step 5: Modify the Details
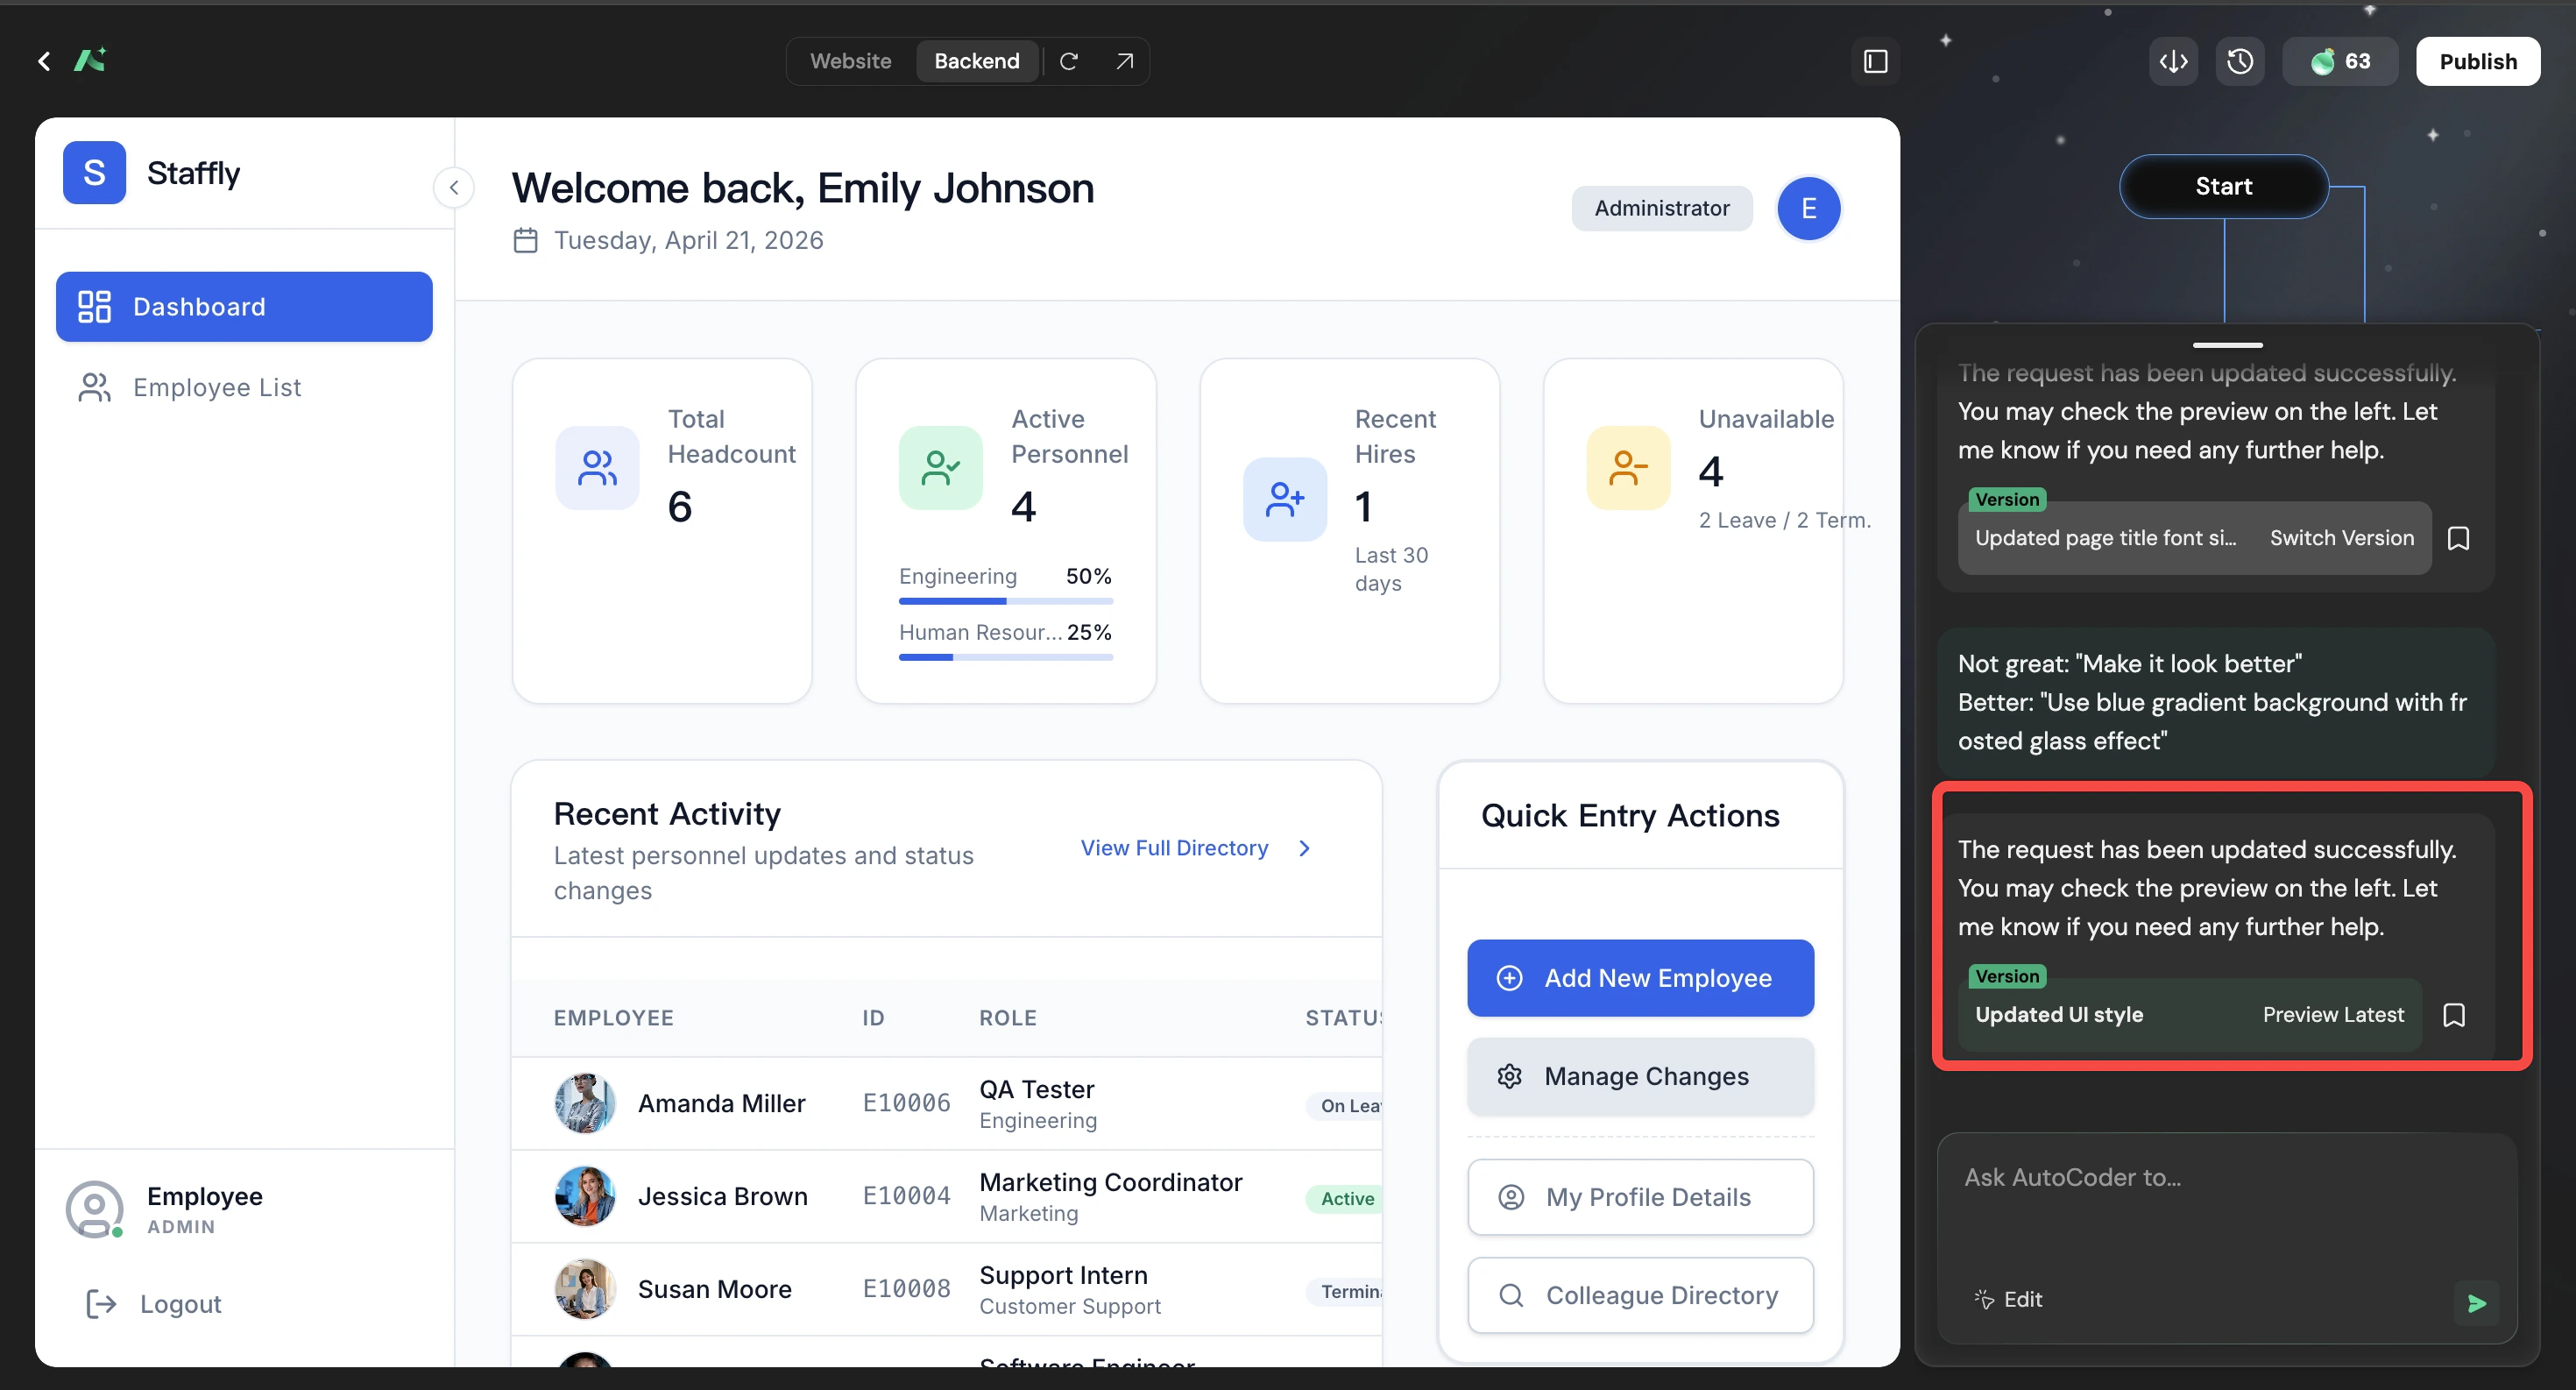
AI-generated results might be 80% perfect, but there’s always 20% that needs human adjustment. This is normal — don’t expect AI to generate 100% perfect results on the first try. Common adjustment scenarios: How to adjust: Just type modification requests in the chat. AutoCoder.cc updates code and preview immediately. My adjustment experience:- Get it working first, then optimize — Don’t get bogged down in details at the beginning. Get the feature working first.
-
Batch modifications — If you need to change multiple things, say it all at once:
-
Be specific — The more specific your description, the better the result:
Step 6: View and Configure Backend Database
AutoCoder.cc includes built-in backend database management — no need to write SQL, no need to manually create tables using database tools. Database features: Employee Management System data table example:- Write SQL to create tables
- Configure ORM
- Write API documentation
Step 7: One-Click Deploy
After confirming all features work, click “Deploy Website”. Deployment process: A few minutes later, your website is live: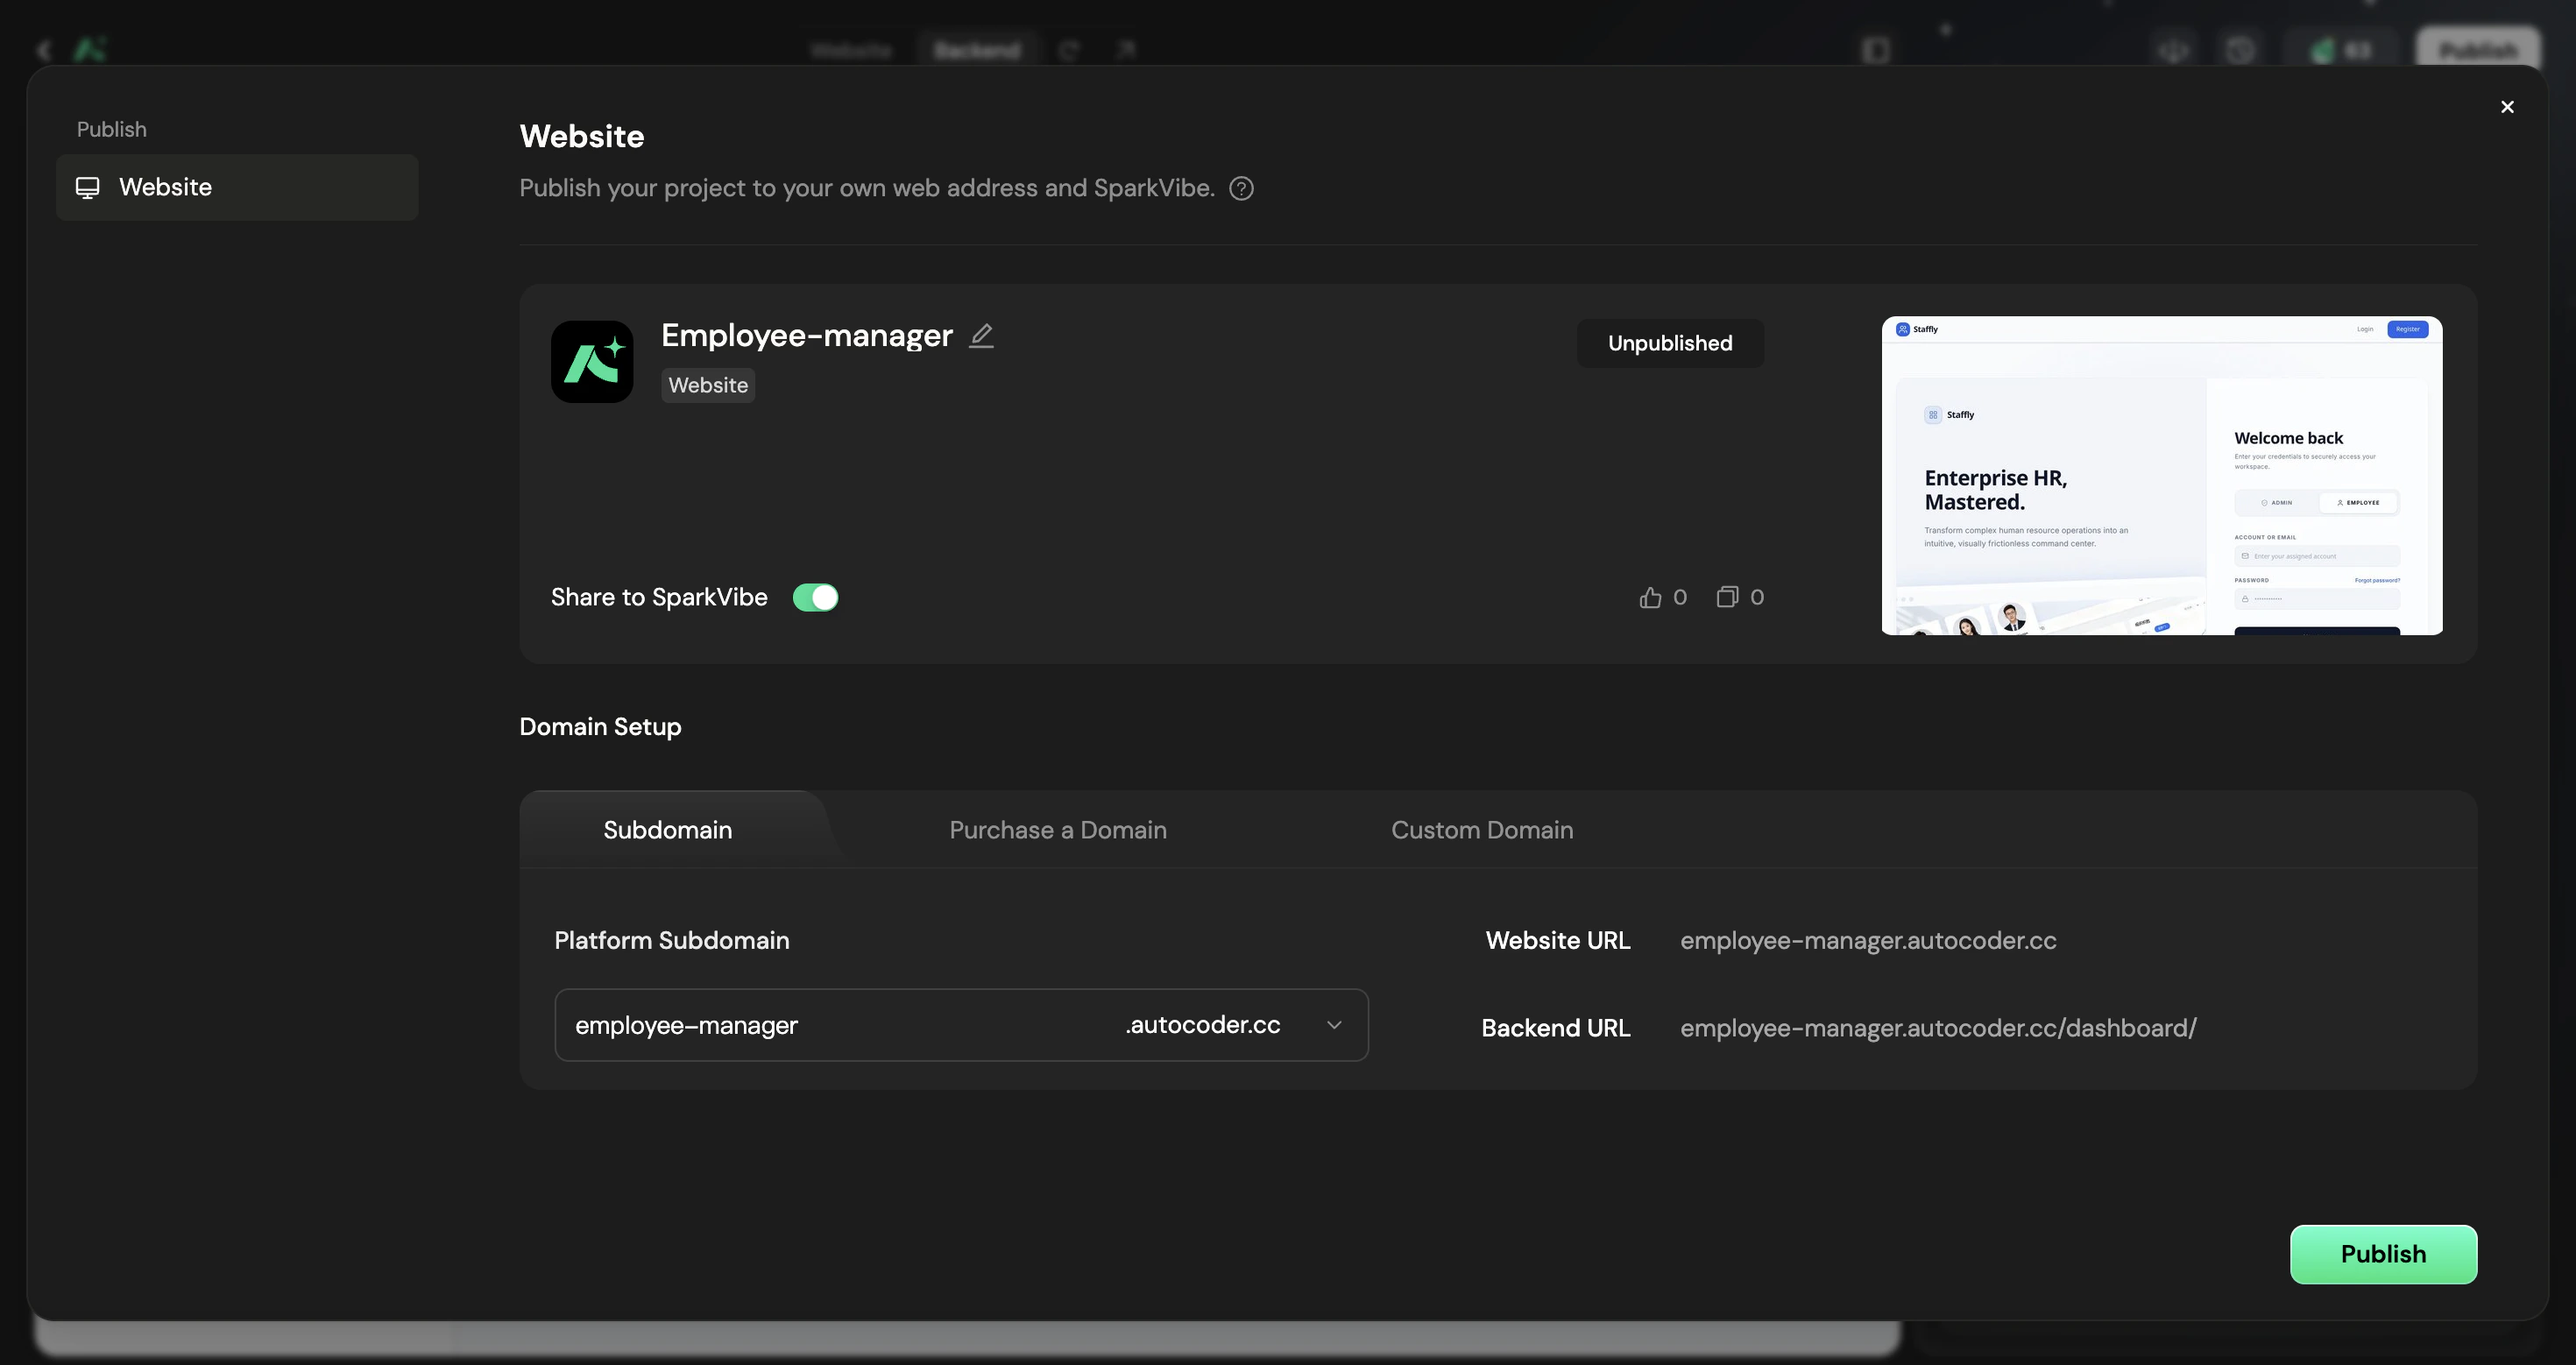
- Code has syntax errors
- Missing environment variable configuration
- Dependency version conflicts
Why AutoCoder.cc Is the Best Vibe Coding Tool
As a developer who’s tried multiple AI web builders, let me compare. AutoCoder.cc’s unique advantages:- Complete workflow — From requirements to deployment, no tool switching
- Built-in backend — Database, API, authentication, don’t need to build yourself
- Fully owned code — Exported code is yours, no vendor lock-in
- Real-time preview — Changes visible immediately, no waiting for builds
My 3-Week Usage Summary
Week 1: Exploration and Adaptation
This week I mainly familiarized myself with AutoCoder.cc’s capabilities and boundaries. Discoveries:- Simple pages and features generate well
- Complex business logic requires multiple iterations
- More specific prompts yield more accurate results
- Don’t describe too many features at once — do it in batches
- Let AI generate the framework first, then refine
- When you have questions, ask AI directly — it gives advice
Week 2: Starting to Produce
This week I started using AutoCoder.cc for real projects. Completed:- An internal tool management system
- A simple e-commerce landing page
- A customer information collection form
- Development efficiency improved at least 5x
- More time to think about products instead of code
- Colleagues started asking me “how did you build this”
Week 3: Became Primary Tool
This week I started using AutoCoder.cc as my primary development tool. Changes:- When receiving new requirements, first think if AutoCoder.cc can handle it
- Use AutoCoder.cc for prototype validation directly
- Only use traditional development for complex projects
- No longer anxious about technical debt — can regenerate anytime
- More bold to try new ideas — trial-and-error cost is lower
- Work became more enjoyable — less repetitive labor
FAQ: Frequently Asked Questions
Q1: What is vibe coding? A1: Vibe coding is a brand new way of programming — describe what you want in natural language, and AI writes the code. You don’t need to understand code syntax, just express your ideas clearly. It represents the shift from “writing code” to “describing requirements,” enabling anyone to become a product builder. This concept was popularized by Andrej Karpathy in 2025 and has now become one of the mainstream development approaches. Q2: Is no coding really possible? A2: For simple requirements, absolutely. You don’t need to write a single line of code to generate a landing page, admin dashboard, or e-commerce site. But for complex logic, no coding doesn’t mean you don’t need technical thinking — you need to know “what you want” to give accurate descriptions. It’s like hiring a designer — you need to tell them what style and features you want, not say “just design something nice randomly.” Q3: Will AI code generators replace programmers? A3: No, but they’ll redefine the role. AI takes on repetitive coding work, and programmers level up to “AI commanders” — responsible for defining problems, reviewing results, making decisions. What really changes isn’t “whether we need people,” but “what people do.” Previously we spent 80% of our time writing code and 20% thinking; in the future it might be the opposite. Q4: What do I need to learn to use AI code generators? A4: You don’t need traditional programming, but you need to learn “how to describe requirements.” This includes: understanding basic UI concepts (what’s a hero section, CTA button, responsive layout), knowing how to describe features precisely (not “make a nice button” but “make a blue rounded button that gets darker on hover”), and learning to review AI-generated code and provide modification feedback. Q5: Who is AutoCoder suitable for? A5: Entrepreneurs — quickly validate ideas without waiting for a development team. Product Managers — build prototypes yourself without bothering designers and developers. Designers — implement designs directly without learning programming. Non-technical founders — no need to wait for a development team, can do it yourself. Development teams — improve prototype development efficiency, focus on core business logic. Q6: How is the code quality? Can it be used in production? A6: Using React + Tailwind CSS + shadcn for frontend, powered by AutoCoder’s proprietary server engine for backend. Q7: Does it support code export? A7: Yes, complete export. You can deploy your project to any server or cloud server/VPS.Additional Insights: Real Tips from Three Weeks of Usage
The Art of Prompt Writing
After three weeks, I’ve learned that writing good prompts for AutoCoder.cc is like writing good PRDs — it requires clarity, specificity, and understanding of what you want. Good prompt structure:-
Being too vague:
- Bad: “Make a table”
- Good: “Create a responsive data table with sortable columns, pagination (20 items per page), and a search input that filters by name or email”
-
Contradictory requirements:
- Bad: “Make it super simple but also include all advanced features”
- Good: “Start with basic functionality, then ask for advanced features in follow-up prompts”
-
Missing context:
- Bad: “Add a chart”
- Good: “Add a line chart showing employee growth over the past 12 months, with monthly data points and a trend line”
Handling Complex Features
Not everything is straightforward. Here’s how I handle complex requirements. For complex business logic:When to Use AutoCoder.cc vs Traditional Development
After three weeks, here’s my framework. The key insight: AutoCoder.cc excels at anything that can be described. For truly novel challenges that require deep technical thinking, traditional development still has its place.The Psychology of Vibe Coding
From Fear to Empowerment
The first week using AutoCoder.cc, I felt a strange anxiety. If AI could do what I do, what was my value? By the second week, that anxiety transformed. I realized AI was handling the tedious parts of my job — the boilerplate, the repetitive patterns, the “I know this works but I have to type it again” moments. By the third week, I felt empowered. I could think bigger, move faster, and build more than ever before. The key mindset shift: Before: “I am a frontend developer who uses AI” After: “I am a product builder who uses AI and code”The Joy of Building Again
Remember the excitement you felt when you first learned to code? That feeling of creating something from nothing? AutoCoder.cc brought that back for me. Instead of dreading another CRUD page, I found myself thinking “what if we tried this?” — and actually building it in minutes, not days.Getting Started: Your First Project
If you’re convinced and want to try AutoCoder.cc, here’s your roadmap. Day 1: Orientation- Create your free account
- Explore the interface
- Generate your first “Hello World” page
- Get comfortable with the preview system
- Pick a simple idea (personal landing page, expense tracker)
- Write your first detailed prompt
- Review the generated framework
- Make several rounds of adjustments
- Deploy to get your first live URL
- Take on a genuine work project
- Use the 7-step workflow from this article
- Document what worked and what didn’t
- Build your personal prompt template library
- Reflect on time saved
- Identify your most effective prompts
- Share learnings with your team
Conclusion
In 3 weeks with AutoCoder.cc, I completed a project that originally needed 2 weeks of development. Not because I got stronger, but because AI amplified my capabilities. Things I couldn’t do before:- ❌ Friday afternoon demo, showing to investors the next day
- ❌ Build a complete site alone, including frontend and backend
- ❌ Change requirements anytime without worrying about breaking code
- ✅ When receiving requirements, immediately generate interactive prototypes
- ✅ Build products solo, no waiting for development to schedule
- ✅ Think while building — don’t need to be perfect to start